In most cases, industrial HMI software is designed to run in a full-screen mode, where all the user sees (and can therefore click on using a touch screen) is the HMI application itself. This prevents the user from interacting with the operating system directly and accidentally closing the HMI application, rebooting Windows, or worse.
But not all industrial control applications provide this level of restriction – some control applications, or even standard desktop applications used in an industrial environment, might fully expose the Windows start button, the “close” and “minimize” icons, or other areas of the screen you may not want your users to interact with.
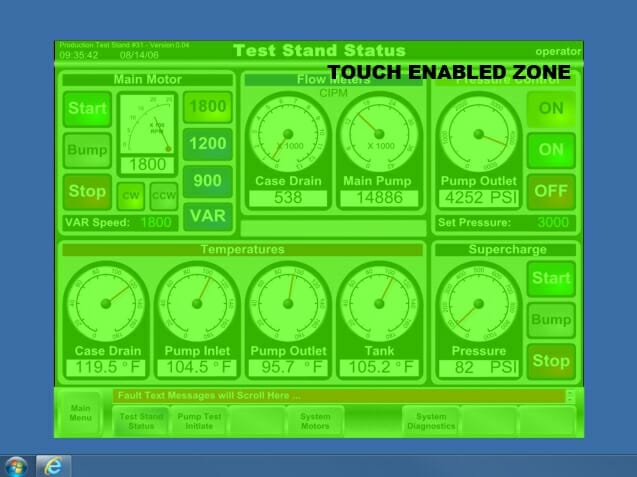
For example: you may want to provide users with a full-screen browser to view assembly documents, but you really do not want the user to be able to close the browser itself.

Our new driver’s Touch Zones feature allows you to designate areas (“zones”) on your touch screen interface that are no longer active “click” areas. These zones can either be exclusive (you can touch anywhere but here, shown in diagram 3), or inclusive (you can only touch here, diagram 1 & 2).
Exclusive zones are good when you specifically want to block a small part of the screen, like the Windows start menu and task bar. Inclusive zones are good when you want to get very granular and only allow very certain parts of the screen to be activated.
To create a zone, first right click on the Elo icon in your Windows system tray, and select “Define Touch Zones.” You will then see two windows: the Elo Touch Zones configuration window and a tinted semi-transparent window that can be moved to the area desired to be configured. Select the touch area mode you require:
- Inside rectangles (inclusive zones) enable touch only within the designated areas
- Outside rectangles (exclusive zones) enable touch outside of the designated areas only

Once you’ve moved the semi-transparent window to the desired area and resized as needed, press the “Save Touch Rectangle” button. You’ll notice the area has been added to the list in the “Remove Rectangles” section in case you need to remove it. After configuring your area, you may select “Test Mode” in the “Running Mode” section to test the touch zones without saving them. Once you’re finished, press “Apply Changes and Close.”
Elo has done an excellent job with this feature, which provides yet another value to Hope Industrial Systems’ customers: putting you in further control of your system’s user interaction. We look forward to other exciting improvements from Elo in the future!